Poison
Makeup for Black Lights
Recently, I was given a makeup project that proved to be one of the most difficult, and baffling artistic challenges I have encountered in my nearly 15 year career! That challenge was a photo shoot for black lights. Just to clarify, for those who may be unfamiliar, black light is invisible ultraviolet or infrared light–the kind of crazy lighting you find in many night/dance clubs that make our features look strange, our teeth neon white, and our skin as blue as a Navi’ from Avatar. So of course, there is makeup out there on the market that is created specifically to glow brightly under black lighting. This was all new to me, and new to my photographer and friend Bogdan Morozovskiy, so we both had a lot of work and testing ahead of us before the final photo shoot took place at Suite 200, in downtown Denver. We were to shoot live in the VIP room of Suite 200, with each shot tethered from Bogdan’s camera, direct to his laptop, then immediately onto every large screen TV through out the club! In other words, the work on all sides needed to be perfect.
Did I mention…no mistakes here?
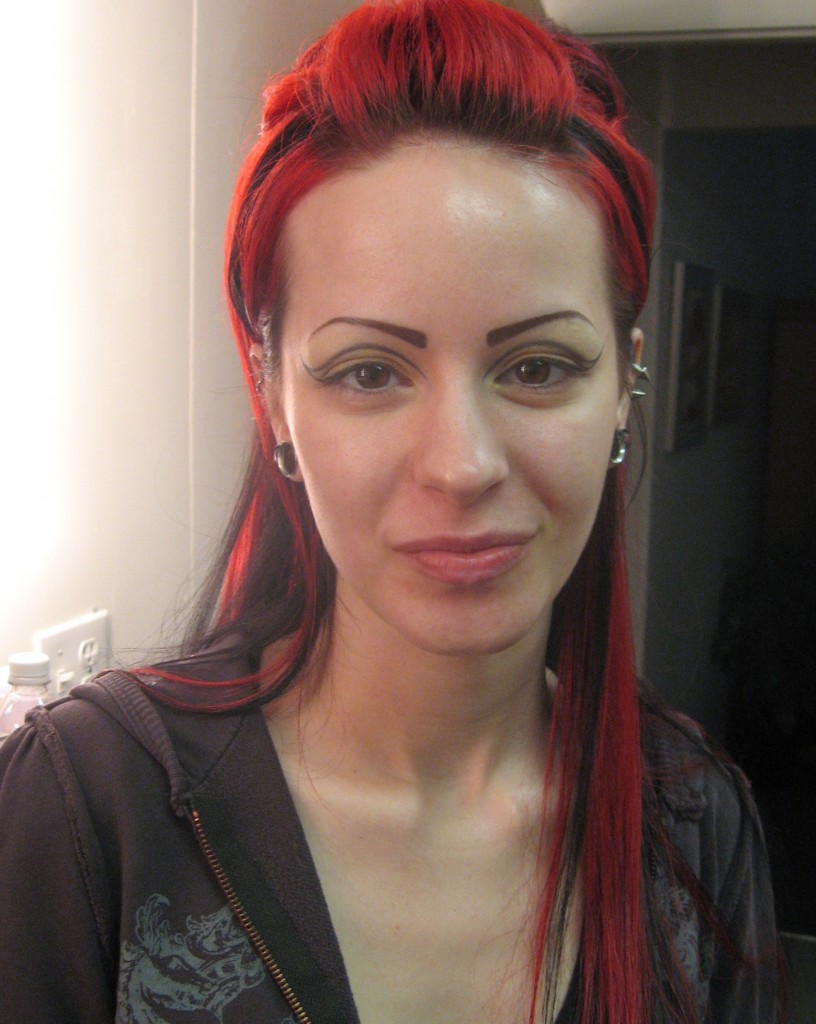
The adventure began with practice. Much practice–two complete test runs well before the night at Suite 200. Of course, however the makeup look I create appears in normal lighting—how it looks under black lighting is a complete surprise. Not only did the two 75 watt black lights we purchased for this project not work well with any other lights/strobes used in normal studio photography, but were also very weak. In the first test, the model, Poison, had to hold the lights right next to her face to have any noticeable effect! I had created a look on the eyes with two loose, matte powder pigments for black light in a neon pink, and a neon coral/red color–mixed and added regualar eyeshadows/eyeliners in black and a bluish, opalescent white in a very vertically blended look. The Black Light Pigments are oddly not that rich in color payoff, and highly difficult to blend. Since teeth usually look extremely bright, we went with a white metallic, glossy lip, assuming it would also reflect very brightly. Foundation was a medium coverage, applied lightly and powdered, and contouring done afterward. The process took around 2 hours just for makeup. The look was bright, yet also smokey and intense– beautiful in normal lights. In black light….a completely different story!
As you can see in the photo of makeup-test 1, the white lips utterly disappeared! The smokey black tones I used on the inner and outer-most thirds of her eyelids, and black eyeliner were totally wiped out by the black light as well. The smallest amount of the Black Light Pigments showed enormously well–but overtook everything else. In normal lighting, the black light colors barely showed up on top of the smokey black eyeliner I used on the lower eyelash line–but under the black light it popped like crazy! And the foundation, which should have looked smooth, was blotchy and grainy. Any exposed skin not covered with foundation looks more pink rather than blue. Obviously, black light being UV, any product with an SPF looks grainy and terrible on the skin. What to do now?
Bogdan and I both went back to our respective drawing boards, then set up a second makeup test. Neither of us had any idea how much work this project would be! Test 2 took us about 4 hours.
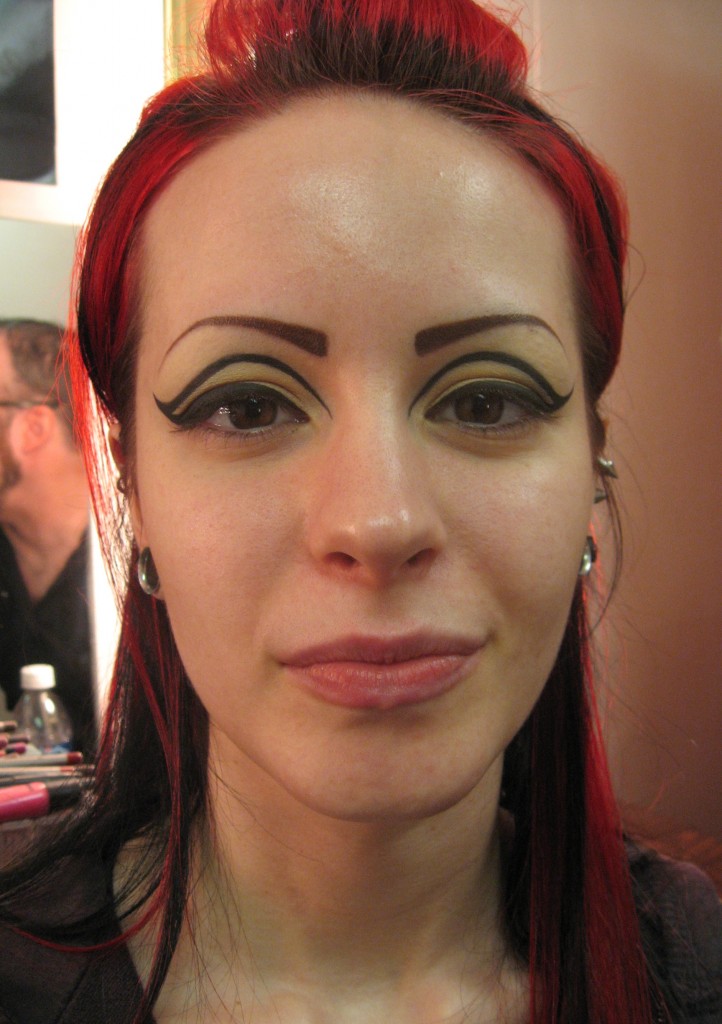
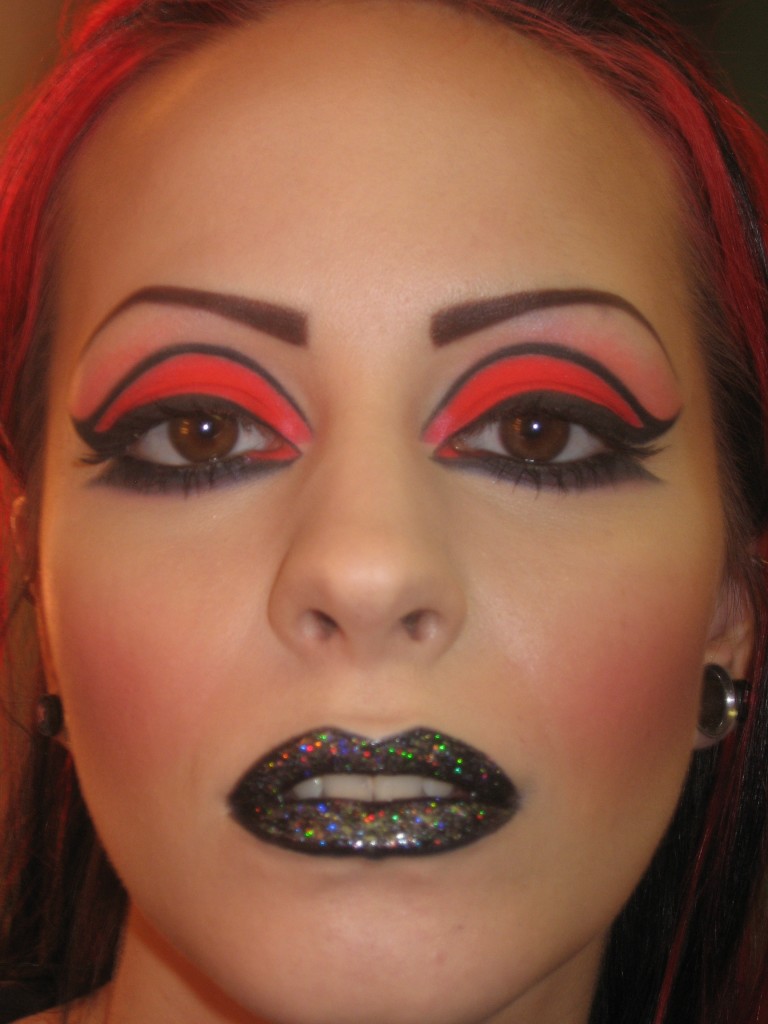
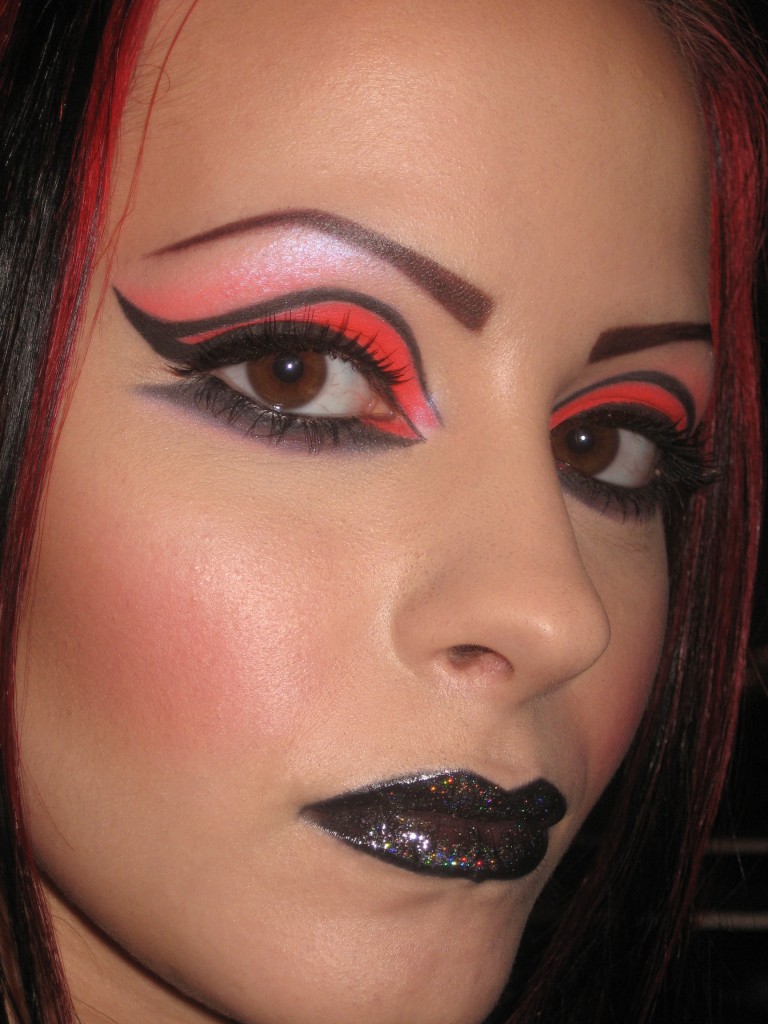
I chose to go with a much more linear, geometric look for the eyes, since fine, delicate blending did not translate well in the black light. I applied a pure black lipstick with black eyeliner to line the lips, and experimented with mixing the special Black Light Pigment with clear lip gloss for a shiny– and I hoped– neon coral, bright effect. Well….it was neon all right. A rather sick-looking neon yellow!! Although the eyes turned out great this time, and each area was well defined and nothing lost in translation–the lips were something out of Night of the Living Dead! I substituted the neon lip idea for the basic black lipstick again, but this time with a ton of silver-multi colored glitter packed heavily on top with clear lip gloss to finish the look. Finally success—yet the lips only look glossy in black light, not like a disco-ball as one would think. Unbelievable!!
Now that the look was designed, I just had to plan my steps carefully to ensure a very CLEAN application. Any slight particles of dropped Black Light Pigments result in mistakes being highlighted like a strobe!! No fluorescent freckles here!! So in a nutshell, here was my makeup process in photos.
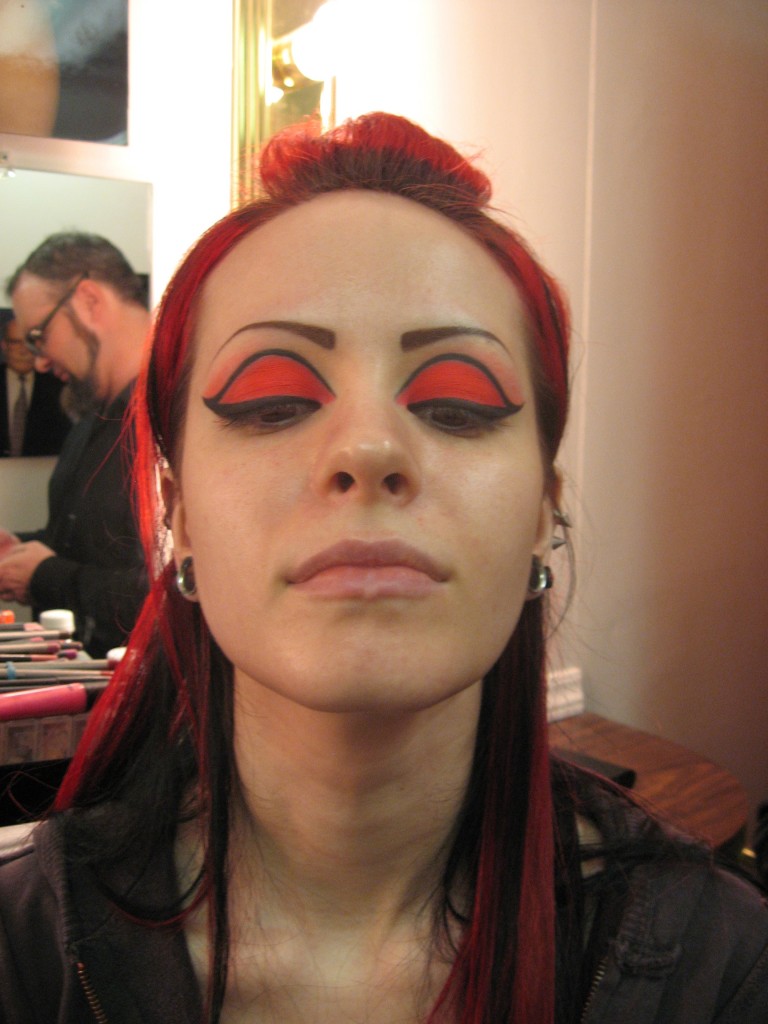
Step 1: To keep the application as clean as possible, I start with the eyes first. I used a water-resistant, cream eye shadow primer in a light skintone shade to the model’s eyes from lashline to brow. Then with a small angled brush, I carefully sketched in the delicate lines of the eye crease and eyeliner with a black eye liner pencil, swiping the color from the pencil tip onto my brush. This makes a basic outline that I can correct if I need to before applying the waterproof eyeliner there later on. With linear/geometric designs such as this, symmetry and precision is key.
Once I was satisfied with the placement and symmetry of the lines, in step 2 I went over them with a gel cream waterproof eyeliner, and my angled brush again. I am only working with the eyelid and upper liner at this point, as once we get to step 3, things can get a bit messy. Applying anything to the lower lash line at this point would be wasting time.
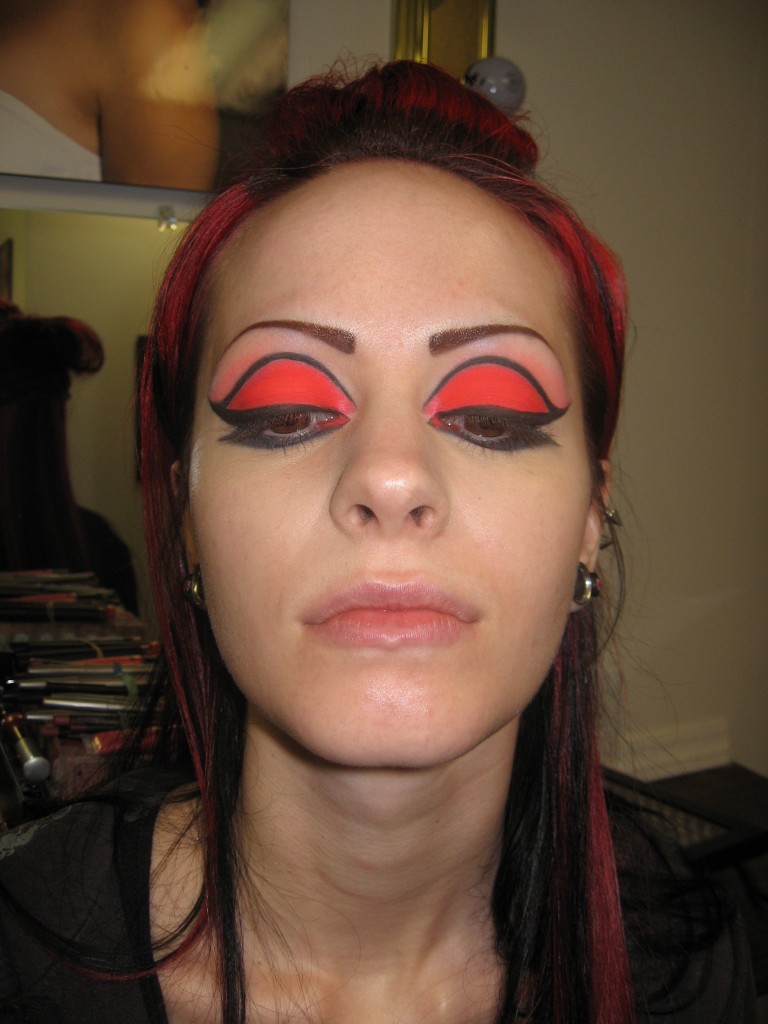
In step 3, I applied the Black Light Pigment in the pink-coral mixture I made to the lids, packing it on heavily with a firm, flat eye shadow brush. I also applied a light amount just above the black line in the eye crease as part of the eye contour. Particles of the neon pigments will inevitably fall onto the under-eye area and cheeks, so this is why I suggest not bothering to apply anything in those areas until the upper eye is done. The final addition to the eye at this point is the brow highlight, which was a color I had in my kit (an old favorite) an opalescent bluish-white shadow that was, without being so labeled, a Black Light Color too. Only the previous makeup tests made me realize this–no wonder that brow bone was so bright in photo one!!
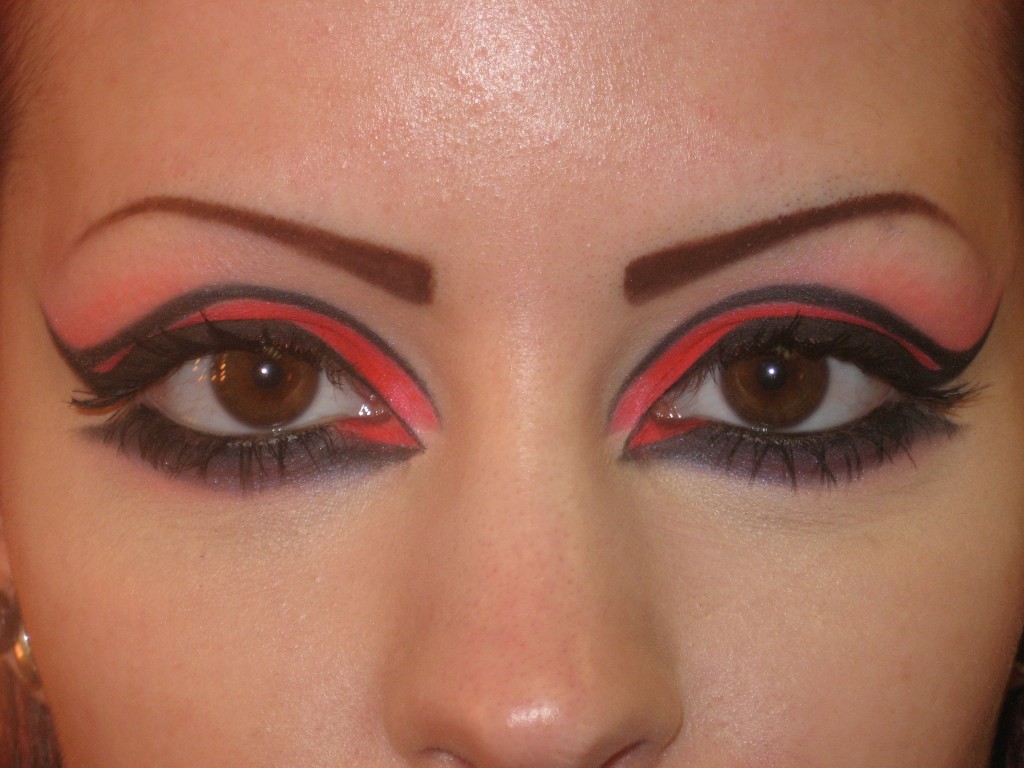
In step 4 for the eyes, I used eye makeup remover to clean up any dropped pigment particles from the skin, applied a full-coverage creamy under-eye concealer, and powdered it slightly to set. I used a flat, square shaped precision eyeliner brush to create the eyeliner on the bottom, angling it out at both inner and outer corners. I used a smudging brush to smoke the liner out a bit thicker, then added a light amount of the coral Black Light Pigment on top of the gel-cream waterproof eyeliner so that light would catch under the eyes also. I used a black kohl eyeliner pencil to line the waterline of the eyes, and mascara and false lashes to finish the look.
Now that they eyes were done, I applied a water resistant, sheer foundation that gives a natural glow to the skin. I set this with mineral powders in varying shades to begin the contouring process. None of these products have an SPF, so the skin will look smooth under those crazy lights. I added a taupe colored blush to deepen the contouring around the edges of the hairline, temples, under the cheekbones and the jawline. I added blush in a scarlet red shade, sparingly. Last, I applied the black lip color with the silver-multi colored glitter and clear gloss on top. Finally, after around 3 hours–Voila’–a perfect makeup for Black Light Photos, or just a fun night out! Here is the result in regular lights.
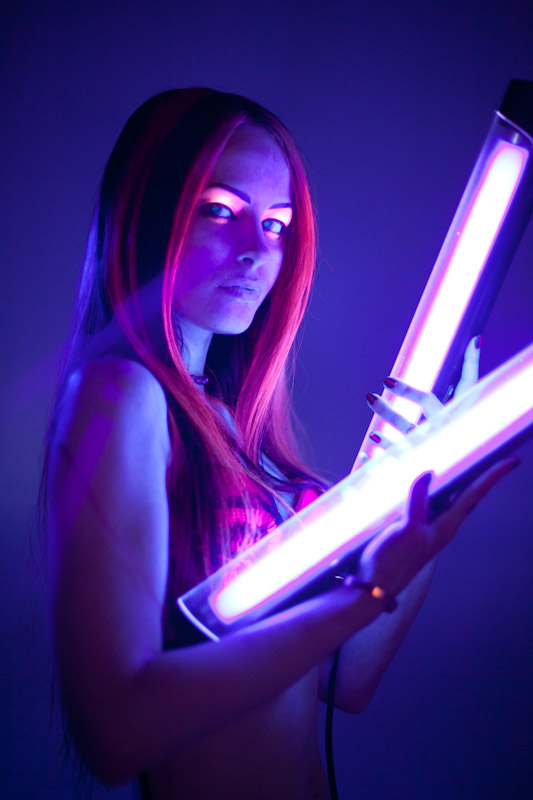
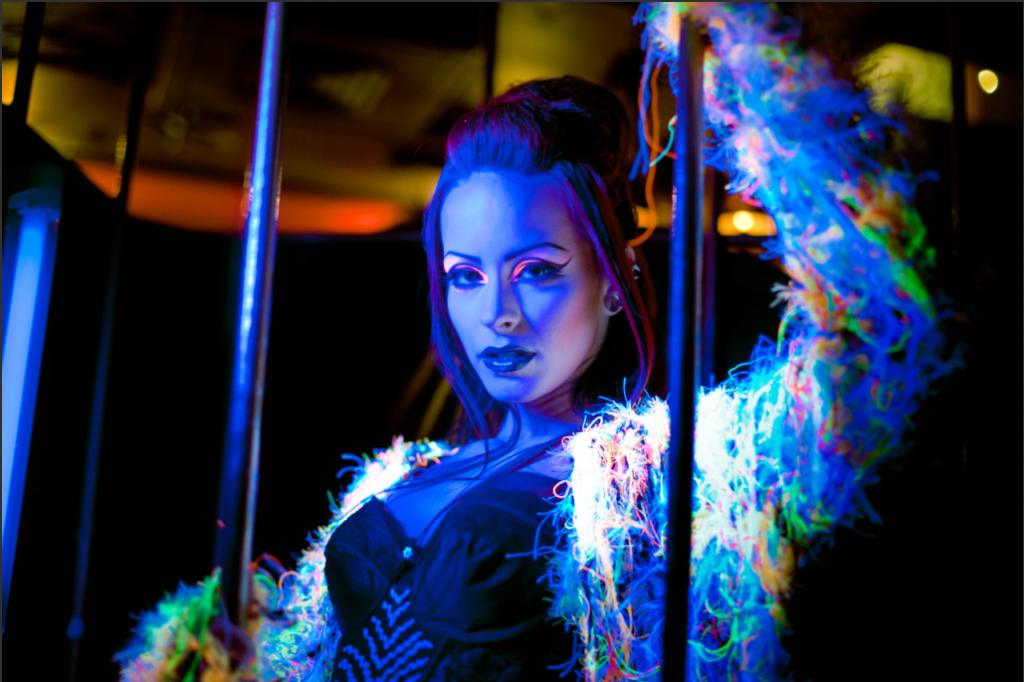
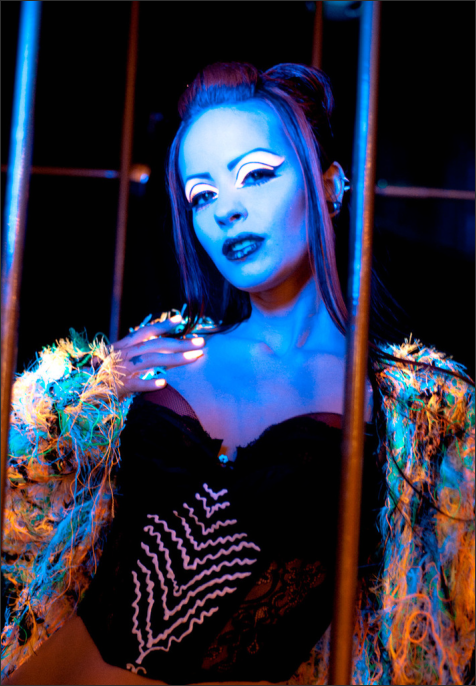
And now the final makeup under Black Lights at Suite 200, photographed by the phenomenally talented Bogdan Morozovskiy. The awesome black light coat was designed and created by Lynne Bruning.
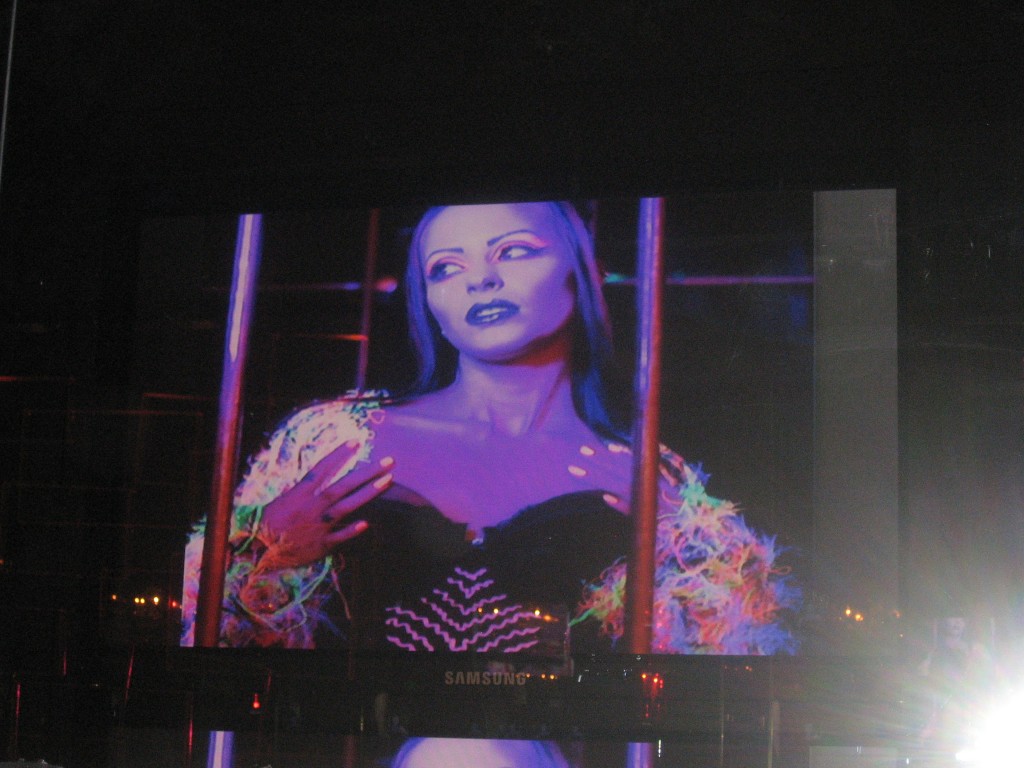
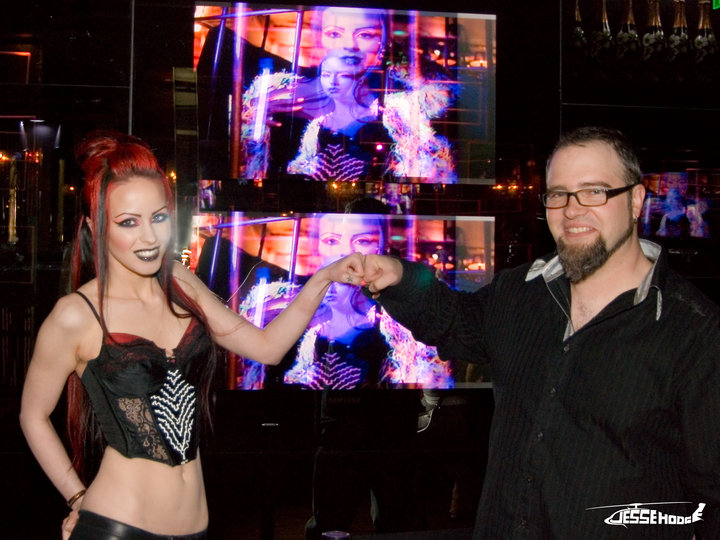
Shots of our talented model and photographer Poison, and Bogdan Morozovskiy in front of the TV screens –the fruits of our labor–in Suite 200.
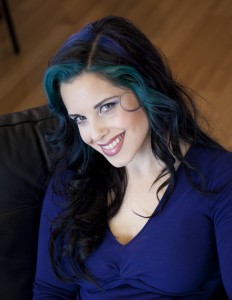
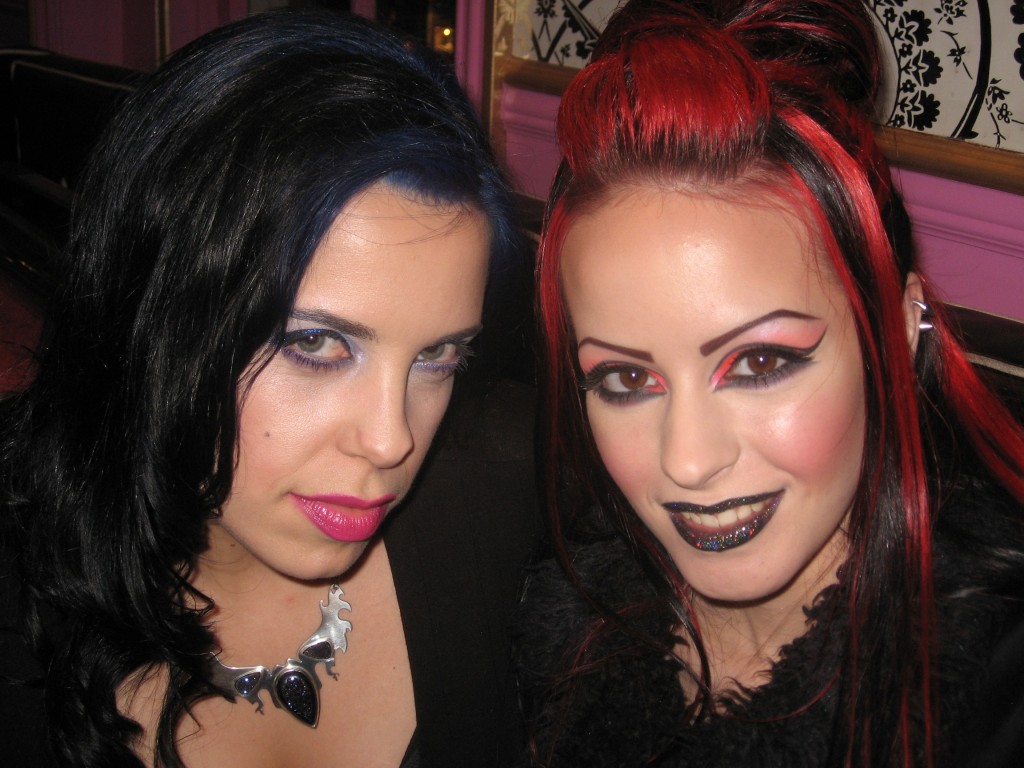
And finally a photo of myself with Poison…
After long hours, many makeup tests, and more logistic problems than I listed here–our labor paid off and the photo shoot was successful! As the limitations of this kind of lighting made getting a really close facial image impossible, our crew of talents may be planning a future repeat of this for an in-studio shoot where we may see if we can get super-close beauty shots. Of course, doing all that again might just finish ME this time!
So if you’re up for a real challenge, I encourage you to try a makeup look with special Black Light Makeup–and give it a whirl. In any case, I hope you enjoyed the journey with me!
